In this guide
At a glance
- Scope
- An open aquatic plant display
- Animals
- Use a suitable aquarium instead
- Do not release
- Plants or aquarium contents outdoors
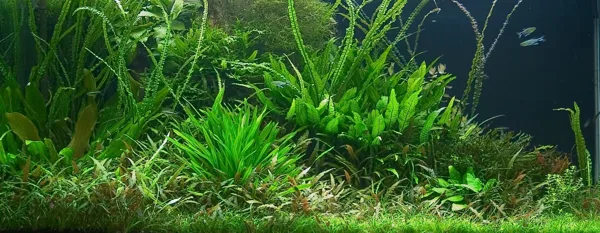
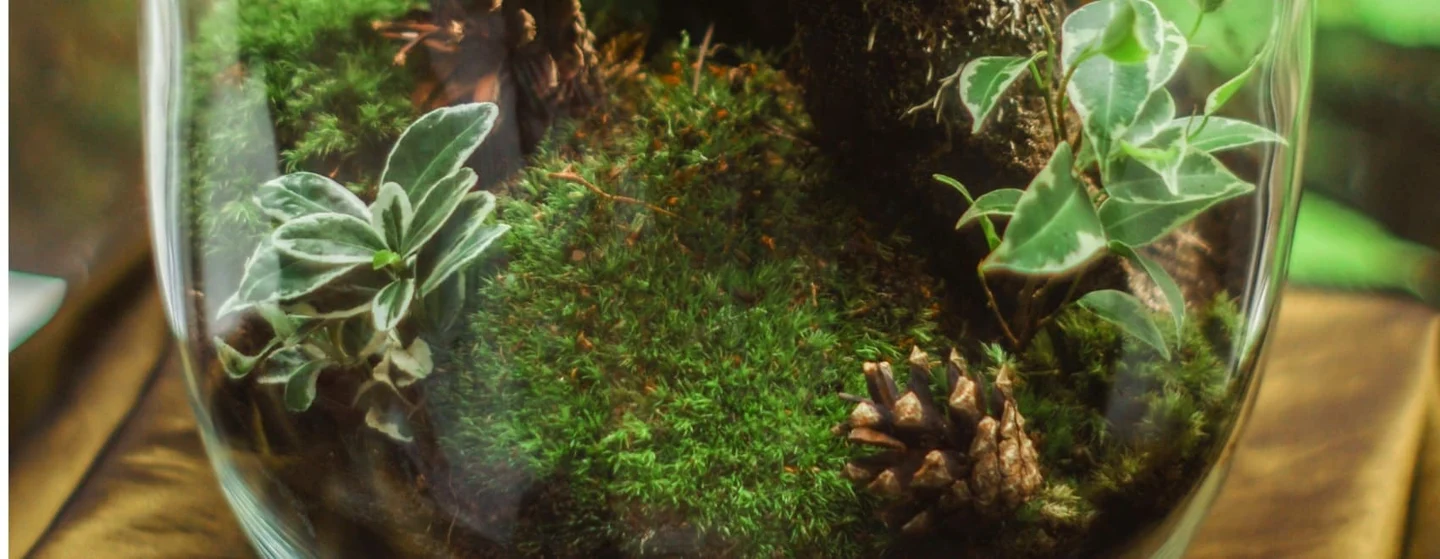
A jarrarium is an informal name for a small planted scene in a jar or similar vessel. Some displays are terrestrial; others hold water and aquatic plants. For the aquatic version here, keep the project plant-focused and open to inspection. A glass jar can be an interesting place to study growth, but it is not automatically a suitable aquarium or a self-maintaining ecosystem. The plants, water and container still need a workable care routine.
Keep the project clearly defined
Decide whether you want an aquatic planting or a terrarium before choosing materials. Plants grown underwater need to be suited to that role; a houseplant stem standing in water is not the same thing as a submerged aquatic species.
Do not seal fish, shrimp or other animals into a jar. A decorative container does not provide the space, stable conditions, filtration and care that aquatic animals may require. Keep this as a planting project. If keeping animals is the aim, plan an appropriate aquarium around the full needs of the chosen species instead.
Choose an accessible vessel
Use a clean, stable container with a generous opening so you can reach inside, inspect the plants and change water. Avoid awkward shapes that make maintenance difficult. Place it on a surface suitable for its filled weight and protect the area from drips.
Observe the proposed location before filling. Strong direct sun can create temperature and algae problems, while a dark corner may not support the plants. Use a position or suitable aquarium lighting matched to the planting. Leave enough room above the vessel to work without lifting a full jar each time something needs attention.
Select materials for use in water
Use substrate, stones and wood intended or verified as appropriate for an aquatic setup. Unknown garden materials can alter water chemistry or introduce contaminants. Check how a substrate is meant to be used instead of assuming decorative gravel provides everything rooted plants need.
Keep the arrangement simple. One main stone or piece of suitable wood can give the scene a clear focus, while open space makes plant growth easier to see. Do not crowd the vessel with hardscape before leaving room for roots and access. Make sure every element remains stable during ordinary water changes.
Choose plants that fit the conditions
Use identified aquatic plants from a responsible supplier, checking their light needs, growth habit and suitability for the available volume. Small plants do not necessarily stay small. A fast grower may need frequent trimming and can quickly occupy a jar.
Place roots or attachment points according to the species. Some aquatic plants grow attached to a surface rather than with every part buried. Ask for precise planting guidance when the identity or growth habit is unclear. Inspect new material for unwanted hitchhikers, and check regional restrictions before buying or moving aquatic plants.
Fill gently and observe the first weeks
Arrange the substrate and hardscape, position the plants and add water gently so the layout is not disturbed. Use water appropriate for the plants and the materials, seeking aquarium guidance where treatment is needed. Do not add chemicals or fertiliser by guesswork.
Watch clarity, temperature, growth and unwanted algae. Make controlled changes and keep a note of them. Top-ups replace evaporated water but are not the same as water changes. A small vessel can change quickly, so the care schedule should respond to what is happening rather than a claim that jars look after themselves.
Maintain the plants and contain the contents
Remove deteriorating material, trim as appropriate and change water using clean equipment suitable for the setup. Never start a siphon by mouth. Keep the vessel and any tools away from food preparation, and wash hands after working with aquarium water.
Never empty the plants or contents into a natural waterway, pond or drain that could release living material outdoors. Follow local disposal guidance and keep unwanted aquatic plants contained. If the display needs more stable conditions or equipment than the jar can accommodate, move to a suitable planted aquarium. The container should fit the gardening, not dictate compromises you cannot manage.
Keep a simple written record of the plant identities and water-care routine so the display can be maintained consistently if somebody else looks after it.
Build a plant-only jar you can reach into
A useful first jar has one small, removable planting feature and enough open space to inspect it. For example, attach a modest amount of correctly identified Java moss to an aquarium-suitable stone that you can lift without scraping the glass. Tropica describes Taxiphyllum barbieri as a moss that can attach to hard surfaces and needs cutting back when it becomes dense. A loose, expanding mass is not maintenance-free simply because it has no roots in substrate.
Work out scale before arranging the jar. A cylindrical water column with a 6cm internal radius and 18cm water depth has a theoretical volume of roughly 2 litres: π × 6² × 18 gives about 2,036 cubic centimetres. Stone, substrate and an irregular vessel reduce that amount. Measure the water you actually add if volume matters for an aquarium-safe product's instructions. This example describes a plant-only vessel, not accommodation for fish or other animals.
Leave a clear route for narrow maintenance tools and a small hose. A beautiful stone that cannot pass back through the opening makes later cleaning awkward. Put the composition together outside the jar first, checking that its widest part fits through the mouth without force.
As the jar develops, distinguish three changes. A little loose debris can be removed during routine maintenance. Algae covering the moss calls for a review of light and accumulated material. Soft, decomposing plant matter or an unexpected foul smell calls for prompt inspection and removal of the affected material, rather than sealing the vessel to hide it.
Mark the normal water line discreetly. Replacing evaporated water restores level; it does not remove dissolved substances already present, so top-ups and partial water replacement serve different purposes. Use suitable water and keep the vessel open as planned. Finish maintenance by checking that the feature remains stable and that no plant trimmings can escape into outdoor drains or waterways.
Sources & further reading
This guide draws on horticultural and specialist references. Conditions vary with climate, cultivar, and site.
- RSPCA: Choosing a suitable aquarium
- OATA: Setting up a planted aquarium
- U.S. Fish and Wildlife Service: Classroom organism guidance
- Tropica: Taxiphyllum barbieri, Java moss