In this guide
At a glance
- Good first crops
- Leafy greens and suitable herbs
- Main constraint
- Usable growing light
- Containers
- Drainage and adequate root space
- Expect
- Small harvests before full self-sufficiency
A tray of greens close to the kitchen can make a winter windowsill feel productive. Growing enough vegetables to replace a garden is a much larger undertaking. A satisfying first indoor crop usually begins with a small harvest you can achieve, rather than a promise of effortless abundance all year.
Start with the light available at plant level. Then choose a crop, container and routine that fit it. Indoors, you control several conditions, but you also supply things that a garden provides more readily: strong light, useful air movement and enough room for a mature plant.
Choose a crop that suits the scale
Leafy greens and suitable culinary herbs are useful first subjects. They can provide repeated small pickings without asking the plant to flower and ripen fruit. Choose compact varieties and leave enough spacing for growth rather than trying to turn every seed into a mature plant in the same crowded tray.
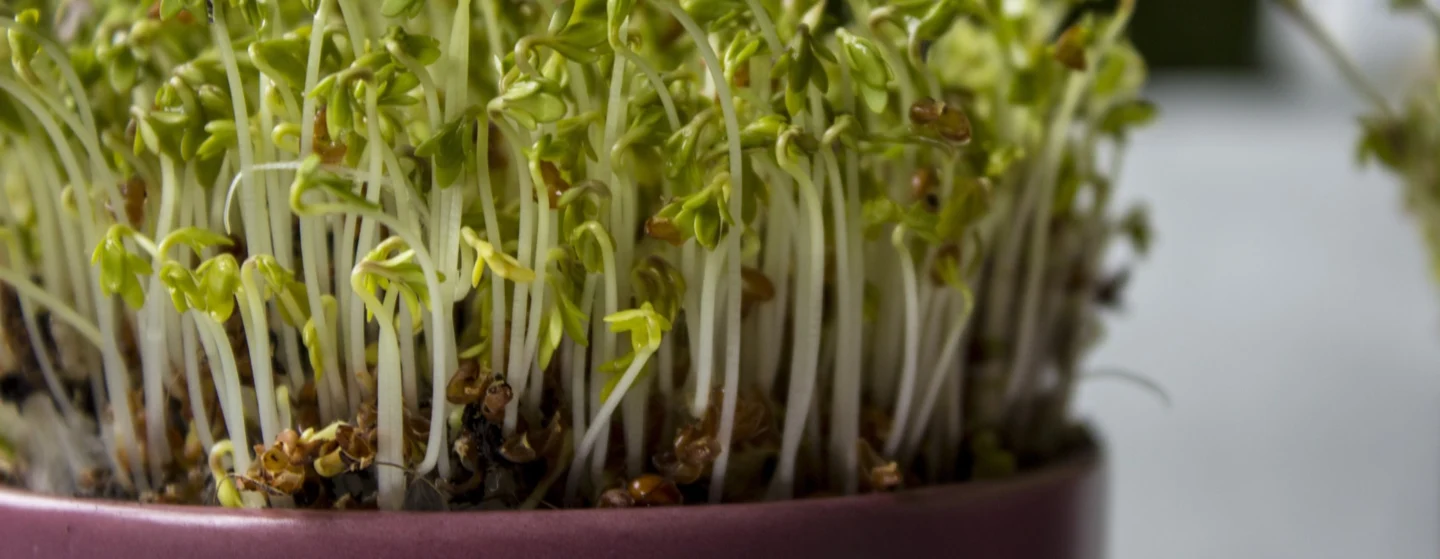
Microgreens are another option, grown from appropriate seed and harvested young. They are different from sprouts and need their own growing and hygiene method. Use clean equipment and a tested method intended for an edible crop, not a damp decorative tray beside the sink.
Tomatoes and peppers are possible, but they need more light, time and space. Select compact cultivars suited to container growing and plan for support, flowers and pollination. A small plant at purchase does not mean a small mature crop.
Make light a measured part of the setup
Observe how the growing area changes through the day and season. A bright room is not necessarily a bright growing position, and winter light through a window may be inadequate for productive vegetables. Artificial growing lights are often needed, particularly away from a very sunny window.
Choose a fixture for the area and crop, and follow its guidance on distance and coverage. The correct distance is not the same for every lamp. Arrange the plants so that the outer leaves receive useful light rather than relying on a bright patch in the center.
Use a timer to provide a consistent daily period with an appropriate dark interval. More hours cannot always compensate for insufficient intensity, and leaving lights on continuously is not a universal solution. Raise or reposition the fixture as plants develop while watching for weak, stretched or scorched growth.
Give the roots an ordinary, workable home
Use clean containers with drainage and a suitable growing medium. Garden soil alone can be too dense or introduce problems into a small indoor container. Match the pot depth and volume to the crop, and place it where excess water can drain without damaging furniture or flooring.
Drainage holes do not help if the pot remains in a full saucer. Check moisture below the surface and water for the plant, container and room conditions. A warm, lit shelf can dry differently from a cool windowsill even when the plants were watered together.
If choosing hydroponics, treat it as a distinct system with appropriate nutrients, root support and solution management. It removes soil, not the need to monitor conditions. Start with a proven small design rather than combining incompatible parts.
Keep the routine attentive and simple
Feed according to the crop and medium, following the product’s instructions. More fertilizer does not replace missing light. Provide gentle air movement without placing tender growth in a cold draft, and leave space around plants instead of allowing a dense, persistently damp canopy.
Inspect new plants and the undersides of leaves. Indoor pests can spread along a shelf quickly, so identify a problem before treating it and use only methods appropriate for edible crops indoors. Clean trays and tools between batches.
Regrowing scallion leaves or garlic greens can be enjoyable, but it is not the same as producing a new full-sized bulb indefinitely. Similarly, starting a vegetable indoors for later planting outside differs from growing it through harvest under lights. Decide which job your setup is doing.
Let the first harvest teach the next planting
Harvest in the way appropriate to the crop, leaving enough healthy growth where repeat picking is intended. Sow small successive batches if you want a steadier supply rather than one large flush. Label varieties and dates so the result can be repeated or improved.
Record how much usable produce you get, the space occupied and the care and energy involved. A useful indoor garden can be a bowl of leaves, a few herbs or a regular microgreen tray. It earns its place when that modest harvest fits your daily life and the plants remain healthy.
Use the first crop to test the growing space
Before filling a shelf with vegetables, grow a small crop that can answer a useful question: where is the usable light? A lamp may illuminate a wide-looking area while providing much less light near its edges. University of Minnesota's indoor-lighting guidance explains the importance of light intensity, duration and placement. A timer describes duration; it does not measure what reaches the leaves.
Try two matching containers of the same leafy crop, sown on the same day in the same medium. Put one near the center of the intended growing area and one toward its edge. Keep their watering and harvest method comparable, and label both positions. This is a home comparison with limitations, not a controlled experiment: temperature and airflow can differ across a shelf too.
Record emergence, leaf color, stretching, the date of a usable harvest and how much you actually cut. Photograph both containers together. Do not invent an expected yield and judge the crop against it. If the edge plants stretch while the center stays compact, reducing the planted area may be more effective than increasing fertilizer. If both struggle, check the lamp's suitability, distance and duration alongside temperature, roots and watering.
Calculate running cost separately from crop success. For illustration, a fixture actually drawing 40 watts for 16 hours uses 0.64 kilowatt-hours per day, or 19.2 over 30 days. Multiply that figure by your own electricity rate. This is arithmetic for an assumed fixture, not a claim about the light delivered or the cost of growing a kilogram of vegetables. Fans, heating and other equipment add their own consumption.
Only then decide whether to extend the shelf, change the lighting or choose a different crop. A modest supply of leaves you enjoy harvesting can justify the space. Fruiting vegetables add larger plants, longer occupancy and pollination questions; success with a small lettuce trial does not settle those requirements.
Sources & further reading
This guide draws on horticultural and specialist references. Conditions vary with climate, cultivar, and site.
- University of Minnesota Extension: Small-scale hydroponics
- University of Minnesota Extension: Growing Microgreens
- University of Minnesota Extension: Starting seeds indoors
- University of Minnesota Extension: Lighting for indoor plants