In this guide
At a glance
- Starting material
- Certified seed potatoes
- Light
- Full sun
- Soil
- Loose and well drained
- Key task
- Earth up to cover developing tubers
- Harvest
- Earlies or mature storage crop
- Safety
- Do not eat green tubers or berries
Growing potatoes is partly a decision about dinner. Small early potatoes are lovely lifted and cooked promptly; a maincrop is a different project, with more time in the ground and storage to think about afterward. Choose the sort of harvest you want before filling a bed or a collection of grow bags.
The usual starting point is a seed potato: a tuber grown and supplied for planting. It is not the same as botanical seed, and a sprouting supermarket potato is not an equivalent source of healthy planting stock.
Choose earlies, maincrops or a cooking type
First and second earlies generally mature sooner and are useful where space needs to become available for another crop. Maincrops stay in the ground longer and can provide larger harvests for storage. The calendar varies with variety and climate, so read maturity guidance as an estimate rather than a fixed harvest appointment.
Also consider texture. A waxy salad potato and a floury baking potato have different jobs in the kitchen. Skin and flesh colors add interest, but choose a named variety with the cooking qualities and local disease resistance you need. Growing something you will actually use is a better reason than chasing the shortest advertised time to harvest.
Start with healthy tubers and workable soil
Use certified seed potatoes from a reputable source. Plant in a sunny position with loose, well-drained soil when local conditions are suitable. Cold, waterlogged ground can rot planting material; exposed young shoots can be damaged by frost.
Small seed tubers can be planted whole. If you divide a larger one, each piece needs at least one healthy eye, and the cut surface should dry and heal before planting. Follow the supplier’s directions for the variety and local guidance for spacing and depth. Leave enough room between rows to bring soil up around the plants later.
Chitting, or encouraging short shoots before planting, is useful for many early varieties. Keep tubers in a cool, bright, frost-free place rather than a warm dark cupboard that produces long, fragile shoots.
Keep the tubers covered and moisture consistent
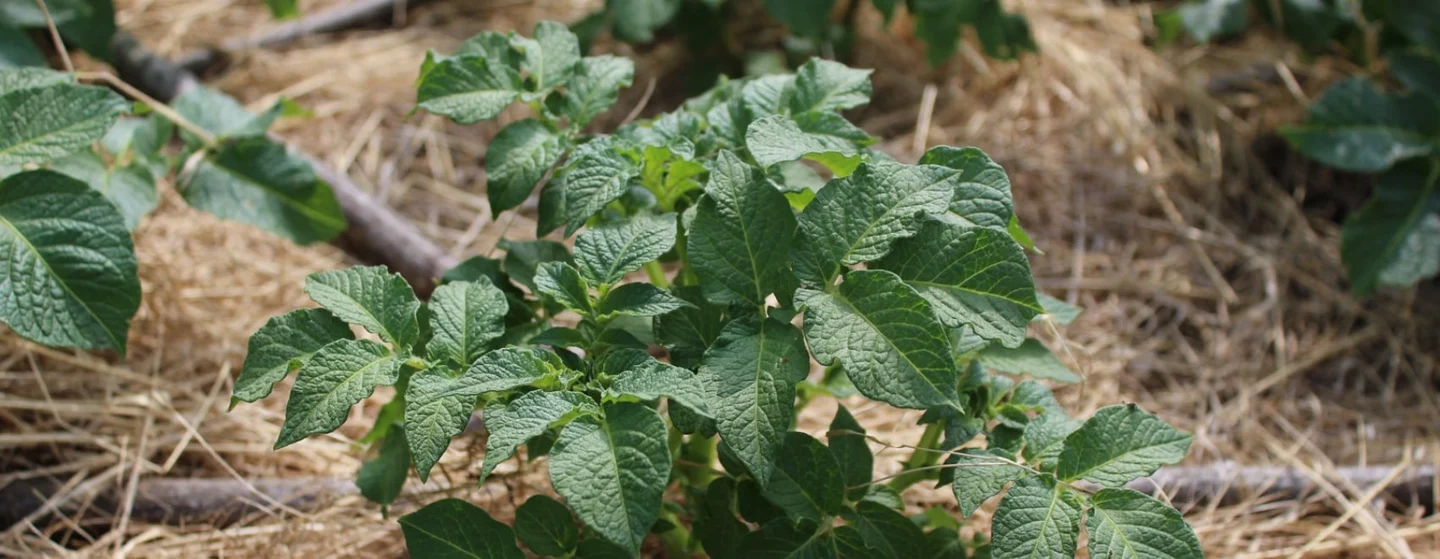
As shoots grow, gradually draw soil around the stems, leaving the upper foliage exposed. This earthing up keeps developing tubers out of the light. Check again after rain or watering has washed soil away. Green tubers are a warning that light has reached them, not a sign of extra ripeness.
Water during dry spells, especially while tubers are developing, aiming for moisture through the root zone rather than a permanently wet surface. A container may dry much faster than a bed, so inspect each separately. Feeding should reflect the soil and growing medium; repeated doses of an unspecified fertilizer are not a substitute for knowing what is already there.
Do not add peat to raise soil pH: it does not do that. Test the soil if adjustment is needed, and follow a local recommendation.
Make a grow bag practical
A large container with drainage holes can work where ground space is limited. Use an appropriate growing medium and start with only the number of seed tubers the container can support. Add more medium as the plant grows to keep tubers covered, without burying all its leafy growth.
Place the filled container where it will stay; wet compost and a mature potato plant are awkward to move. A bag is a useful way to manage space, not a guarantee of a bigger yield or better flavor than potatoes grown in a bed.
Lift for the harvest you chose
Check an early crop carefully for usable tubers when the variety is approaching maturity. Flowers can be a rough seasonal clue, but flowering alone is not a reliable universal signal to empty the bag. New potatoes have thin skins and are best used promptly.
For storage, wait for the crop to mature and the skins to firm, following guidance for the variety. Lift in suitable dry conditions, keep damaged potatoes separate and store sound tubers in a dark, cool, ventilated place. Do not eat potato berries, sprouts or green tubers. A good harvest includes sorting the crop, rather than putting every tuber into the same sack.
Choose the lifting method for eating now or storing
New potatoes and storage potatoes ask for different decisions. A young, thin-skinned tuber can be useful in the kitchen while being unsuitable for long storage. Before lifting the whole crop, decide which result you want and inspect a sample accordingly.
Utah State University's potato guide distinguishes tender young potatoes from mature tubers with firmer skins. For storage, check whether the skin resists gentle rubbing, alongside the crop's maturity and weather conditions. One easily rubbed tuber is a reason to assess the rest carefully, not to conclude that every plant is ready because the expected number of days has passed.
Read yellowing foliage as a pattern. Gradual decline across a crop approaching maturity means something different from sudden wilting in one patch, particularly after dry weather or waterlogging. Compare the affected area with healthy plants and inspect soil moisture. A crop damaged early by drought can have brown foliage without having produced mature storage tubers. Conversely, deteriorating wet soil may make delay risky; local disease and weather advice should guide that decision.
When lifting, begin outside the expected cluster and loosen soil rather than driving a fork beside the stem. Work through the loosened area by hand where practical, keeping tools away from the tubers. Sort as you go: sound mature tubers, sound but damaged tubers for prompt use, and diseased or rotten material for appropriate disposal. Avoid packing warm, wet potatoes straight into a sealed container.
Check greening separately from maturity. Light-exposed potatoes need assessment even if large and firm; do not assume cooking makes green or badly affected tubers suitable to eat. Keep the stored crop dark and inspect it periodically, removing deterioration promptly.
For the next planting, record the cultivar, planting date, first useful young harvest and main lifting date. Add the reason for lifting—mature skins, forecast conditions or a crop problem. That gives next year's schedule some context, rather than treating a season shortened by drought as the cultivar's normal timetable.
Sources & further reading
This guide draws on horticultural and specialist references. Conditions vary with climate, cultivar, and site.
- RHS: potato growing guide
- University of Minnesota Extension: potatoes
- Utah State University Extension: Potatoes in the garden