In this guide
At a glance
- Clarify first
- Ground terrace, roof or slope
- Plan for
- Drainage and access
- Planting strategy
- A few coherent groups
A terrace can feel like an outdoor room without borrowing every habit of an indoor one. Plants grow, rain needs somewhere to go, and a table that looked generous in the showroom may leave no room to walk around it. Begin by deciding how you want to use the terrace. A small dining area, a generous planted edge or a quiet seat can each be the main event. They do not all need equal space.
Know which kind of terrace you are designing
A ground-level paved terrace, an elevated roof terrace and a hillside cut into levels have different constraints. Do not transfer a photograph from one to another without checking what supports it. For a roof or elevated structure, obtain an appropriate assessment of capacity, waterproofing, drainage and any proposed fixings before planning substantial planting.
For changes to slopes, retaining walls or steps, use competent design and construction advice. Containers are not a workaround for structural questions: they become heavier when watered and when plants mature. Establish what is possible before deciding where the largest planters will go.
Draw the movement before placing the furniture
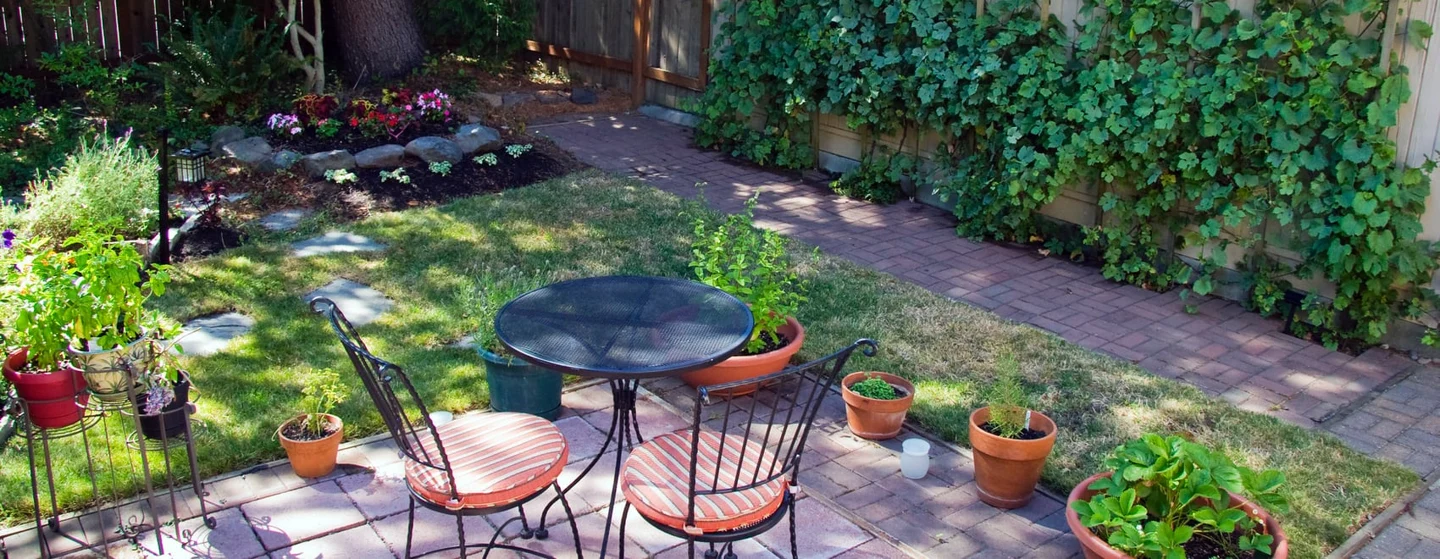
Mark the route between the house, the seating area and any gate or steps. Keep that route comfortable and clear. Pull chairs out on the plan, then check the arrangement in the actual space with temporary markers. It is much easier to move a marker than a planted container.
Place the main sitting area where the view, shelter and privacy make it inviting. A sunny terrace may need a sheltered place for part of the day, while a cool shaded one may be best enjoyed where the light reaches it. Let those observations guide the arrangement rather than centring everything automatically.
Use planting to define the edge
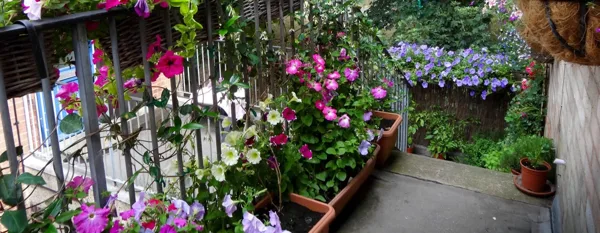
A few substantial planted groups can give a terrace a sense of enclosure while preserving open floor space. Repeat containers or foliage shapes to connect the groups. Keep the closest view interesting with leaf texture and plant form; every pot does not have to be in flower at once.
Leave room for growth and for looking after the plants. A shrub pressed against a railing is difficult to prune and inspect, while a container placed in front of a drain may conceal the first sign of a blockage. Keep practical features accessible even when the planting fills out.
Work with wind and heat
Elevated terraces can be exposed, and reflected heat from walls and paving can intensify the conditions. Use existing shelter where possible and select plants for the actual site. Where suitable and permitted, a securely installed slatted or mesh screen can filter wind more gently than a solid barrier.
Look at how the terrace behaves through a full day. A container beside warm masonry may dry differently from one in an open, shaded corner. Group plants with similar requirements so their care makes sense. A mixed collection is easier to enjoy when it is not also a collection of conflicting watering instructions.
Build a container garden you can maintain
Choose containers with adequate root space and drainage, while staying within the assessed structural limits. Use a potting medium suited to the plants, rather than filling everything with garden soil. Plan how water will reach the terrace and how excess water will leave it.
Start with fewer plants than you think the space can hold. This leaves room to observe which positions work and how much watering is involved. Add seasonal colour near the seat or doorway if you enjoy changing it, but let permanent planting supply most of the structure. The garden should still look intentional between displays.
Rehearse an ordinary watering day
Before adding the last row of pots, carry a watering can along the proposed route. Reach each rootball without moving a chair, dragging a hose through the doorway or leaning over a railing. If the arrangement is awkward while the plants are small, mature foliage will rarely make it easier.
Run a small trial with the containers already in place. Label their positions on a sketch: the warm wall, the windy edge and the sheltered corner. Inspect compost below the surface and note which pots dry first. This is an observation exercise, not a prediction of how many litres your finished terrace will use.
The RHS container-watering guide explains why a shower can wet only the upper layer while leaving roots dry. Water slowly onto the compost when needed, allowing it to soak in. Watch where drainage emerges and stop before unnecessary runoff becomes a puddle beneath the furniture or a problem for the space below.
Use what you find to simplify the layout. A thirsty seasonal display belongs somewhere easy to check. Plants with compatible moisture needs can share a care route, while those requiring drier conditions should remain identifiable rather than disappearing into the same irrigation setting. Larger suitable containers can offer more moisture capacity, but on an elevated terrace their filled weight remains a structural question.
If you install drip irrigation, check individual outlets and the pots they serve before relying on the system during an absence. A timer confirms that a valve opened; it does not confirm that every rootball received water. Arrange a person who can respond if something fails.
Keep the practical plan visible as planting develops: accessible drainage points, a hose connection you can reach and somewhere sensible for the can. Those small allowances let the terrace remain a place to sit, instead of an attractive obstacle course between you and the next watering job.
Review the terrace in use
Spend time there before adding another feature. Notice whether afternoon glare makes a seat uncomfortable, whether a screen blocks a pleasant view, and whether watering involves dragging a hose across the dining area. These are useful design observations, not evidence that you planned badly.
Keep drainage points clear, check fixings and inspect containers after severe weather. Replace a plant that repeatedly struggles rather than building the whole routine around keeping it alive. Once the terrace has a workable layout, its most valuable finishing touch may be enough empty space to carry a tray outside without negotiating an obstacle course.
Sources & further reading
This guide draws on horticultural and specialist references. Conditions vary with climate, cultivar, and site.
Our editorial standards →