In this guide
At a glance
- What changes
- The container stores a reserve of water
- Still necessary
- Refilling, observation and appropriate feeding
- Important feature
- An overflow and a suitable root zone
- Before a trip
- Test through several normal watering cycles
Self-watering is an appealing name for a container, especially when a thirsty plant meets a busy week. The useful reality is a little less magical. A reservoir stores water and a connection carries moisture toward the growing medium. You still choose the plant, check the system, and refill it.
Done well, the arrangement can make watering more consistent. Done badly, it can leave a plant wet for too long or run dry sooner than expected. Think of it as a different way to manage a container, not a way to stop paying attention.
Understand the route from reservoir to roots
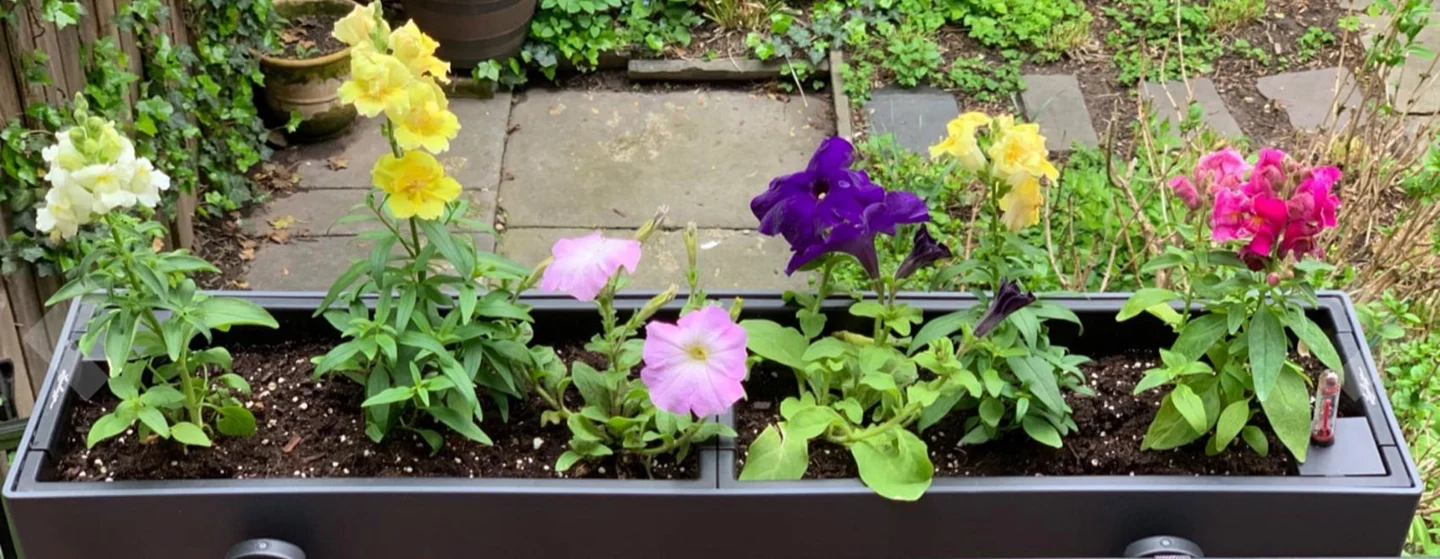
A typical reservoir planter has a growing area above a water store, with a wick or part of the medium providing a connection. Capillary action moves moisture through the medium. An overflow limits the maximum water level and helps keep the entire root zone from becoming submerged after rain.
Designs differ. Follow the instructions for the actual container, including the fill point, maximum water level, medium, and any initial top-watering needed to establish a connection. A decorative outer pot filled with standing water is not automatically a self-watering system.
The University of Maryland describes these containers as a useful option for vegetable growing, but even its example can need frequent refilling in hot, sunny weather. Reservoir size alone does not establish a holiday-length guarantee.
Match the system to the plant
Consider plants that benefit from a reasonably steady moisture supply, while checking their particular requirements. A growing vegetable in a sunny container has a different demand from a small houseplant in winter.
Plants that need a pronounced dry period around their roots may be a poor fit for a constantly supplied reservoir. Do not assume that a cactus, orchid, seedling, and tomato can all use the same setup simply because their nursery pots fit inside it.
Group plants with compatible needs. In a shared planter, the wettest root zone may suit one plant and cause problems for another. A slightly larger reservoir cannot solve a mismatch in light, medium, rooting conditions, or plant choice.
Make the growing medium part of the design
Use the medium specified for the system or a well-supported equivalent suitable for the crop. The balance between water movement and air space matters. Dense garden soil can behave very differently from a container mix and may not provide the desired connection.
Moisten and fill the planter as directed. Check that the wick or contact area is in place and that the overflow is clear. Newly planted roots may need care from above until the plant and medium are functioning as intended.
Do not add a random layer of stones at the bottom in the hope that it will correct every drainage issue. Work with the actual reservoir design. Extra materials can reduce usable root volume or interrupt the intended water pathway.
Treat small wick and bottle systems as experiments
A wick running from a water container to a plant pot can be useful, but its performance depends on material, contact, height, potting mix, and the plant's demand. Set it up while you are home and observe the result rather than arranging it on the way to the airport.
Keep the water container stable and manage the possibility of leaks. Glass globes and inverted bottles also need testing; a device that empties slowly in one pot may empty quickly or fail to wet the roots in another.
For a DIY reservoir, use suitable clean materials, particularly around edible crops, and follow a complete, well-explained plan. The Maryland Extension bucket-garden guide is a practical example. Avoid containers that previously held hazardous chemicals.
Keep a small, regular checking routine
Inspect water level and root-zone moisture until you understand how the system behaves. Demand changes with weather, plant size, season, and location. A full reservoir on a cool morning tells you little about a mature plant in a hot spell.
Follow crop and container guidance for feeding. Stored water does not replace nutrients, and repeatedly adding fertilizer without understanding the system can create problems. Periodic cleaning and maintenance also matter; remove debris and keep filling points and overflows usable.
If growth declines, check light, roots, pests, and medium as well as the reservoir. Yellow leaves are not a reliable instruction to add more water.
Make absence a separate planning decision
Test the setup through several ordinary cycles, then arrange someone to check plants if the absence is longer than the system has proved it can manage. Do not promise yourself a fixed number of days from the product photograph.
A successful self-watering planter makes the routine more forgiving. It should reduce the number of emergency watering moments while keeping you connected to what the plant actually needs.
Check the water path before trusting the reservoir
A full reservoir and a dry plant can occur together. The University of Kentucky's self-watering container design depends on a working capillary connection, appropriately moistened growing medium and a controlled reservoir level. Water visible at the bottom is only useful if the growing system can move it to the roots.
For a newly planted container, check moisture where the young root ball actually sits. A dry surface is not enough to diagnose failure, but dry medium around the roots calls for attention. Confirm that the wick or wicking column is installed as intended and has contact with the moist medium. Follow the design's establishment watering instructions; do not expect a small plant to bridge a disconnected water path.
If the medium stays excessively wet, check the overflow and specified air space, then reconsider the plant, medium and growing conditions. Do not solve every wilt by refilling. Roots in unsuitable, persistently saturated conditions can also fail to supply the leaves.
Before an absence, measure refills under ordinary use and again during warmer weather. For illustration, six usable litres divided by an observed use of 0.75 litres per day gives eight days arithmetically. It does not promise eight safe unattended days. Growth, a heatwave, incomplete wicking and water that remains below the working intake can shorten the interval. Leave a margin and arrange a check rather than relying on the final theoretical litre.
A community example shows why context matters. In an October 2024 r/houseplants discussion, one contributor described a visible reservoir and roots following the wick in mild, humid UK conditions; another reported still refilling outdoor planters twice weekly in heat. These are individual, unverified experiences, not measured comparisons or recommended refill schedules. They suggest useful questions to test in your own container.
Repeat the observation after moving the plant, changing the medium or allowing a much larger canopy to develop. A refill interval belongs to a particular plant and setting, not permanently to the pot.
Sources & further reading
This guide draws on horticultural and specialist references. Conditions vary with climate, cultivar, and site.
- University of Maryland: self-watering containers
- University of Maryland: container vegetable gardening
- University of Kentucky Extension: Self-watering containers, AEN-157
- Community experience: r/houseplants discussion, October 2024 (anecdotal)