In this guide
At a glance
- Choose first
- Climbers, pots or a living wall
- Check
- Light at every planting level
- Protect
- Walls, floors and fixings
- Allow access
- Watering, pruning and replacement
A plant wall has an appealing trick: it turns a flat background into something with depth, movement and life. In a living room, leaves can soften a blank stretch of plaster. Outside, they can make a boundary feel like part of the garden. The most successful version is one you can reach, water and keep looking good after the first enthusiastic weekend.
Before deciding on a dramatic full-wall installation, choose what you actually mean by a plant wall. Climbing plants rooted at ground level, individual pots on a frame and an irrigated living wall are different systems. Their costs, weight and maintenance needs should not be bundled into one easy DIY promise.
Three approaches, three different commitments
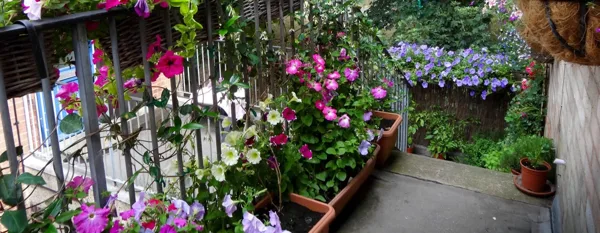
A climber on a support is often the most straightforward outdoor option. Roots have space in a bed or substantial planter while stems climb a suitable framework. Choose the species for the wall’s light, climate and eventual size, and match the support to the way it climbs. A wall shrub may need regular tying even when it looks as though it climbs naturally.
Removable pots on a rack suit a smaller display and make individual plants easier to replace. Repeat one pot shape for a quieter result, or use a few larger containers instead of dozens of tiny ones. Each must drain into a planned collection route rather than onto the wall or a lower shelf.
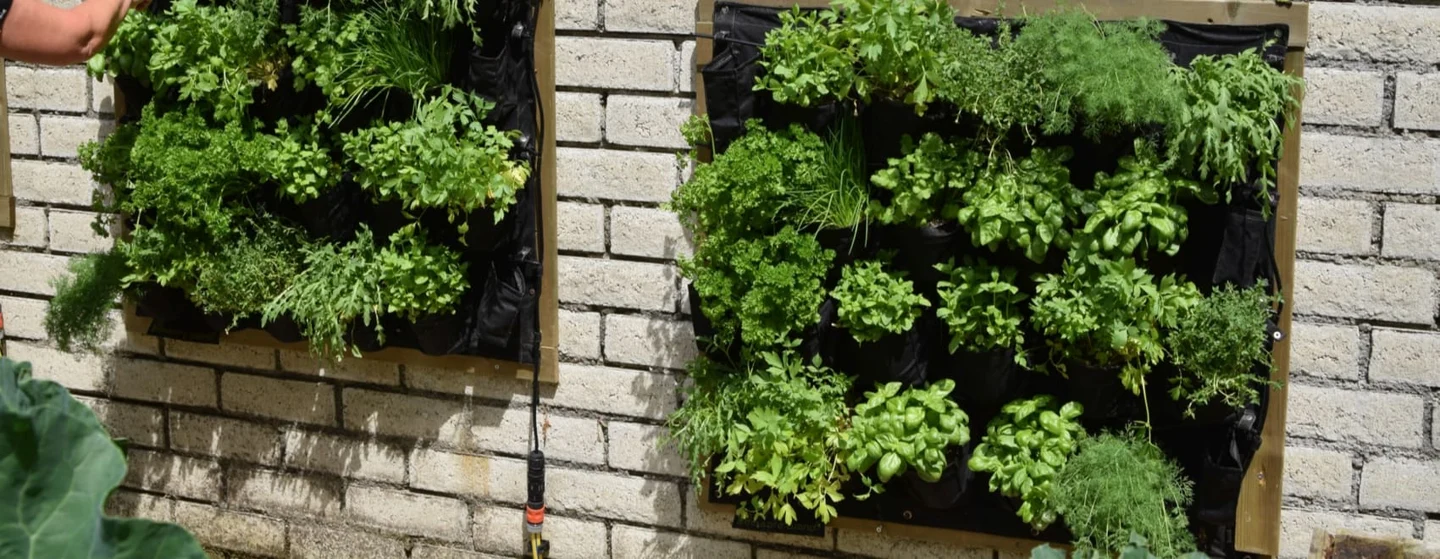
A planted panel or living wall gives a continuous surface of foliage. It also creates many small root zones with little reserve of water. Irrigation, drainage and access are part of the installation, not finishing touches. Large or high installations warrant professional assessment.
Indoors, give the plants the light they need
A wall that looks bright from the sofa may be quite dim where the lower pots sit. Check light across the whole display and choose plants with compatible needs. A trailing plant can disguise an edge beautifully, but dense upper growth can also shade everything beneath it. Leave enough space to see how the arrangement develops.
A grouping of pothos or other appropriate trailing houseplants can make a generous display without needing a complex panel. Ferns offer softer texture where their light and moisture requirements can be met. Succulents need their own suitable light and draining conditions; mixing them into a damp fern wall for visual variety is asking different plants to share the wrong routine.
Protect floors and finishes and make every pot accessible. If watering requires moving furniture and balancing on a chair, the display is too awkward. Where natural light is insufficient, the design needs appropriate supplementary lighting or a different location.
Design the light pattern before the leaf pattern
RHS explains that even shade-tolerant plants need light, and weak, pale or stretched growth can indicate too little of it. That matters on a wall because “the room is bright” describes a human impression, not every planting pocket. Mark the actual proposed pot positions and check the light there, including the shadow cast by the shelf above.
For an illustrative display 1.2 metres wide with two rows of removable pots, start with generous empty space between the rows. Place the plants temporarily at their intended heights and inspect both from the usual viewing position and close up. A trailing stem may look graceful from the sofa while concealing a lower plant from daylight and from watering access. Trim, rearrange or reduce the upper planting before increasing the number of pots.
Do not specify a universal light value for an unnamed collection. Identify the plants, then assess whether the actual location can meet their requirements. Where supplementary lighting is needed, include its positioning, electrical suitability, operating cost and access in the proposal.
Outside, design around the wall rather than through it
Inspect the surface and the proposed fixing points before adding weight. Wet growing media, mature plants, containers and wind all matter. A fence panel is not automatically a structural support, and a balcony installation must respect the building’s load limits and management rules.
Keep water away from vulnerable fabric and provide the ventilation and separation required by the chosen system. Outdoor walls can create very uneven conditions: sun and wind dry upper pockets quickly, while lower pockets may receive runoff. Group plants by similar needs and arrange irrigation to suit the actual installation.
A simple trellis covered with a suitable climber can deliver much of the visual effect with fewer individual containers to tend. Keep its mature stems clear of gutters, openings and other building details that need inspection.
Hanging planters and shelves can give a lighter version
A few wall-mounted pots, hanging baskets or a well-supported shelf can create a planted backdrop without a continuous living-wall system. Use secure fixings appropriate to the surface and include the wet weight of containers. Leave room to lift each pot out for watering, and use a planned drip tray or collection route rather than letting overflow mark the wall.
Outside, a retaining wall is also a structural element holding back ground. Adding planting does not resolve drainage, soil pressure or defects in the wall itself. Avoid cutting planting pockets into it or altering its drainage without appropriate professional advice. A freestanding planted screen nearby may give the softer appearance you want without changing that structure.
Build a small section before covering the wall
Begin with a rack or panel that you can manage comfortably. Arrange the empty containers first and view them from the place where you will usually sit. Check that the composition still works with some wall showing; leaves do not have to cover every inch to make the space feel greener.
Water-test the arrangement before planting, including where overflow goes. Add plants, then watch how the different levels dry and adjust the routine. Provide space to remove a struggling plant without taking down the whole display. Repeating a few well-matched plants generally gives a clearer result than collecting one of everything.
Living foliage can be pleasing to spend time around, but a small domestic plant wall should not be sold as a substitute for ventilation, air filtration or treatment. Its strongest promise is simpler: an ordinary surface becomes a place worth looking at, with a level of care you have chosen deliberately.
Give a small wall a service test
Before planting the full display, use one representative section to rehearse four actions: watering the upper plant, removing a lower pot, checking the wall behind and collecting an overflow. Carry out the test in the intended position with the floor protected and the fixing system approved for the wet load. If any action requires leaning over furniture or dismantling the whole rack, redesign it.
Keep the water route visible enough to inspect. Mark where each pot drains and where collected water is emptied. A lower plant should not depend on uncontrolled drainage from every pot above it; different rootballs can stay wet for different lengths of time. Lift removable pots to inspect them individually rather than assuming a green surface proves the whole wall is healthy.
Leave an intentional spare position or a simple way to cover a gap when a plant needs removal. A composition that still looks good with some wall showing is more forgiving than a continuous pattern that fails visually whenever one pocket is empty. Keep a short record of which levels dry first and which plants shade neighbours. Expand only after the small section is comfortable to maintain.
Sources & further reading
This guide draws on horticultural and specialist references. Conditions vary with climate, cultivar, and site.
Our editorial standards →